

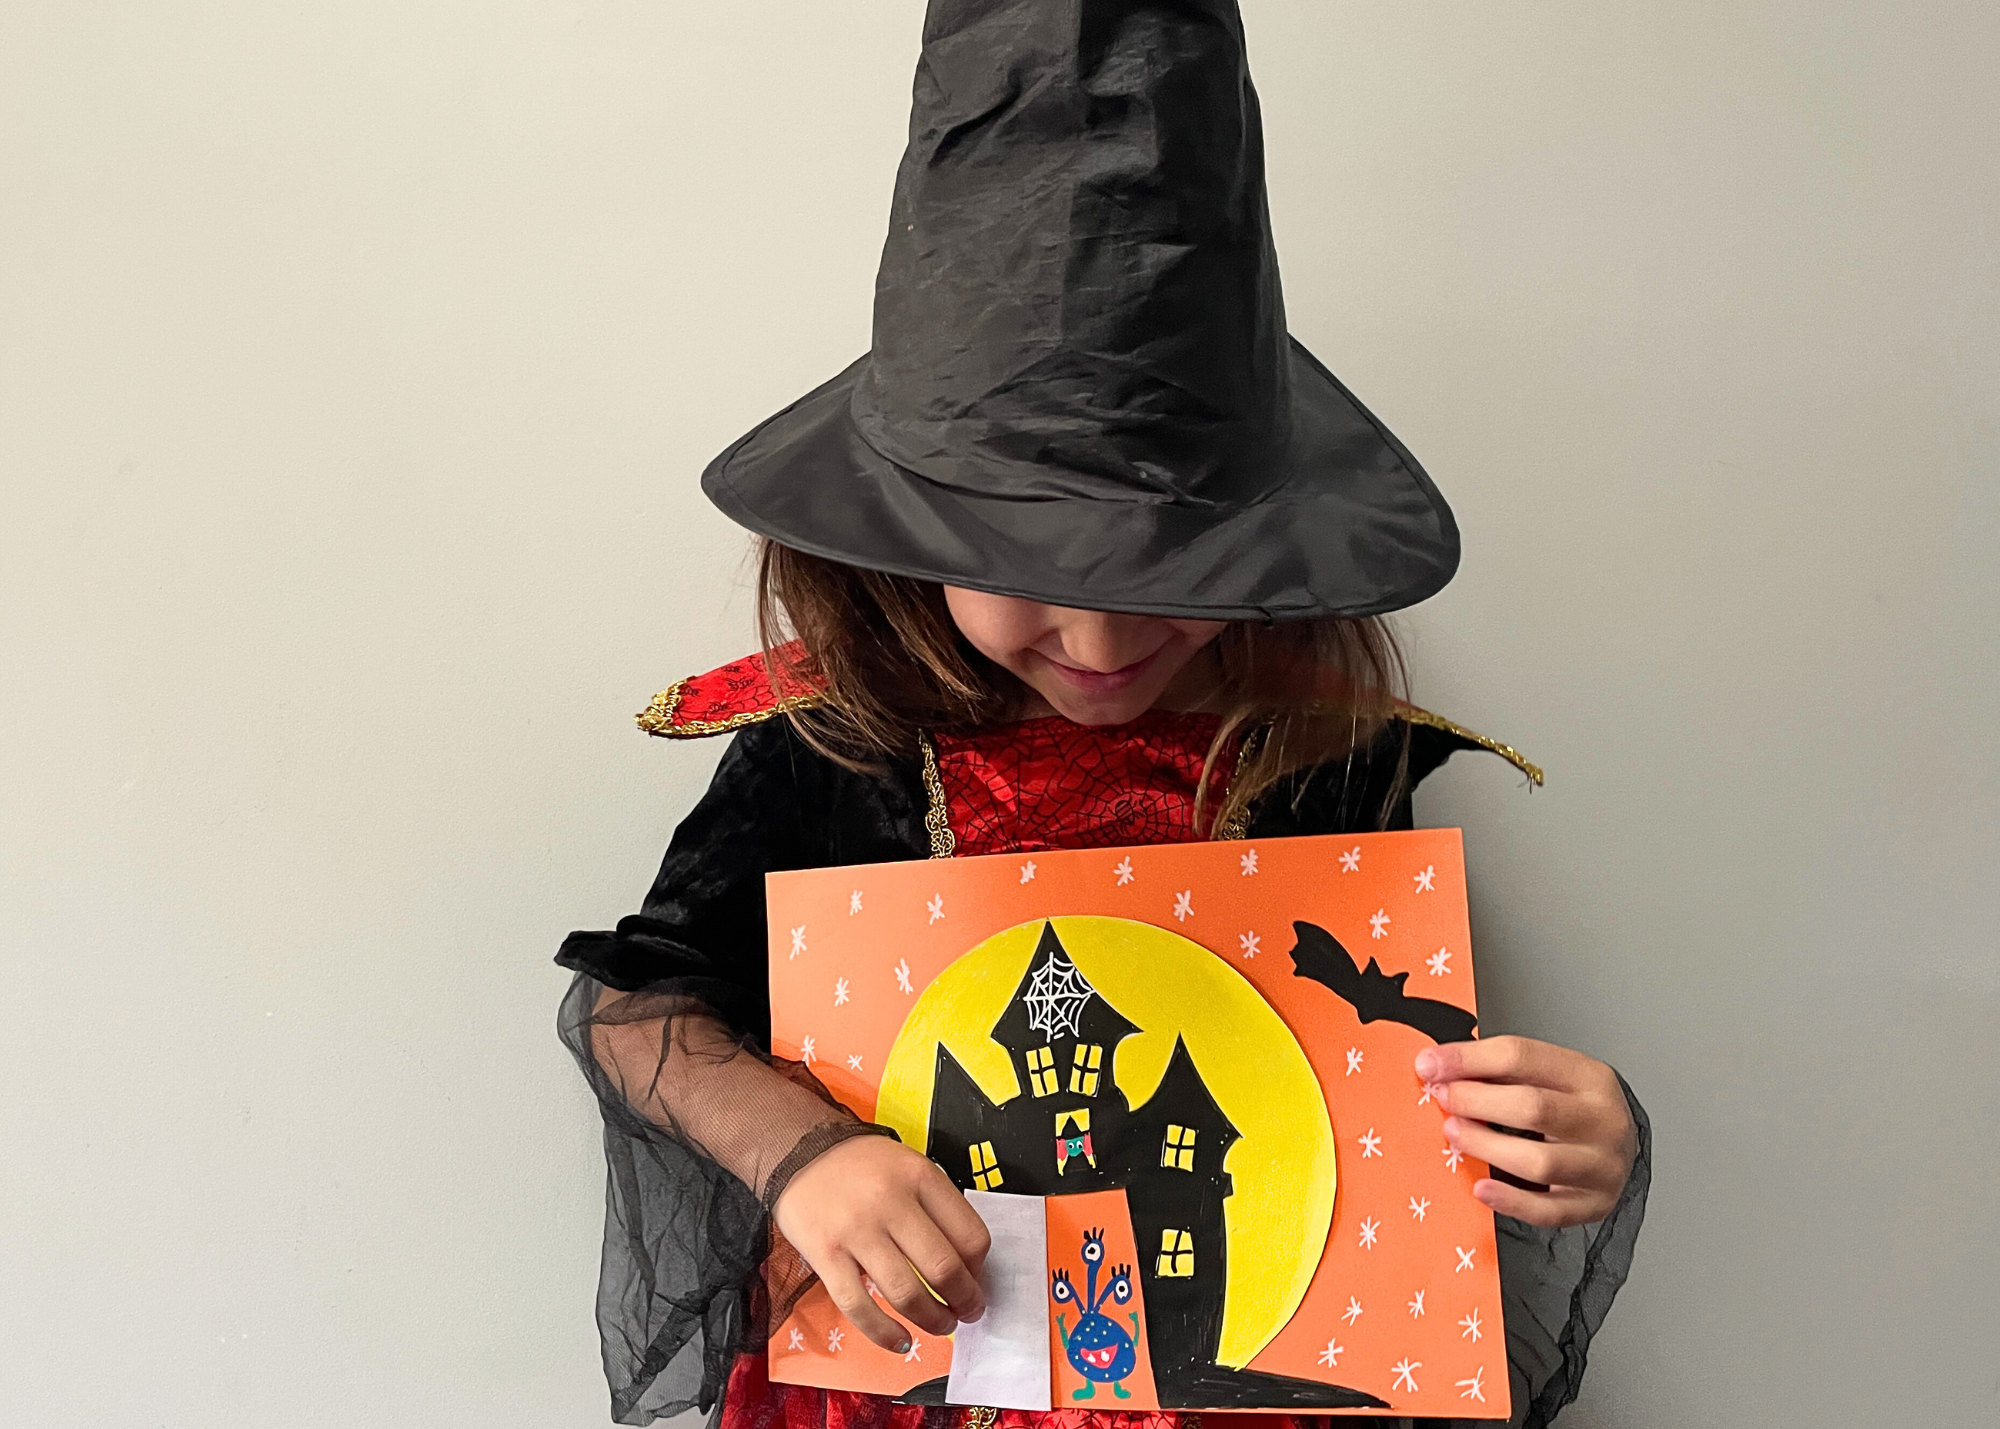
Creating and making Halloween costumes and decorations is a great way to stimulate kids' imaginations. Shannon created a free 'haunted house' craft this Halloween that kids can cut and colour. It has a 'haunted door' that they can open and close and use their imagination to create their own cute and spooky creature to hide behind and even build their own story!
 For this activity, you will need:
Printed 'Who's Home?' template
Coloured sheet of card or paper
Westcott Scissors
Glue
Let's get started with the step-by-step guide to making this spooky yet adorable haunted house craft:
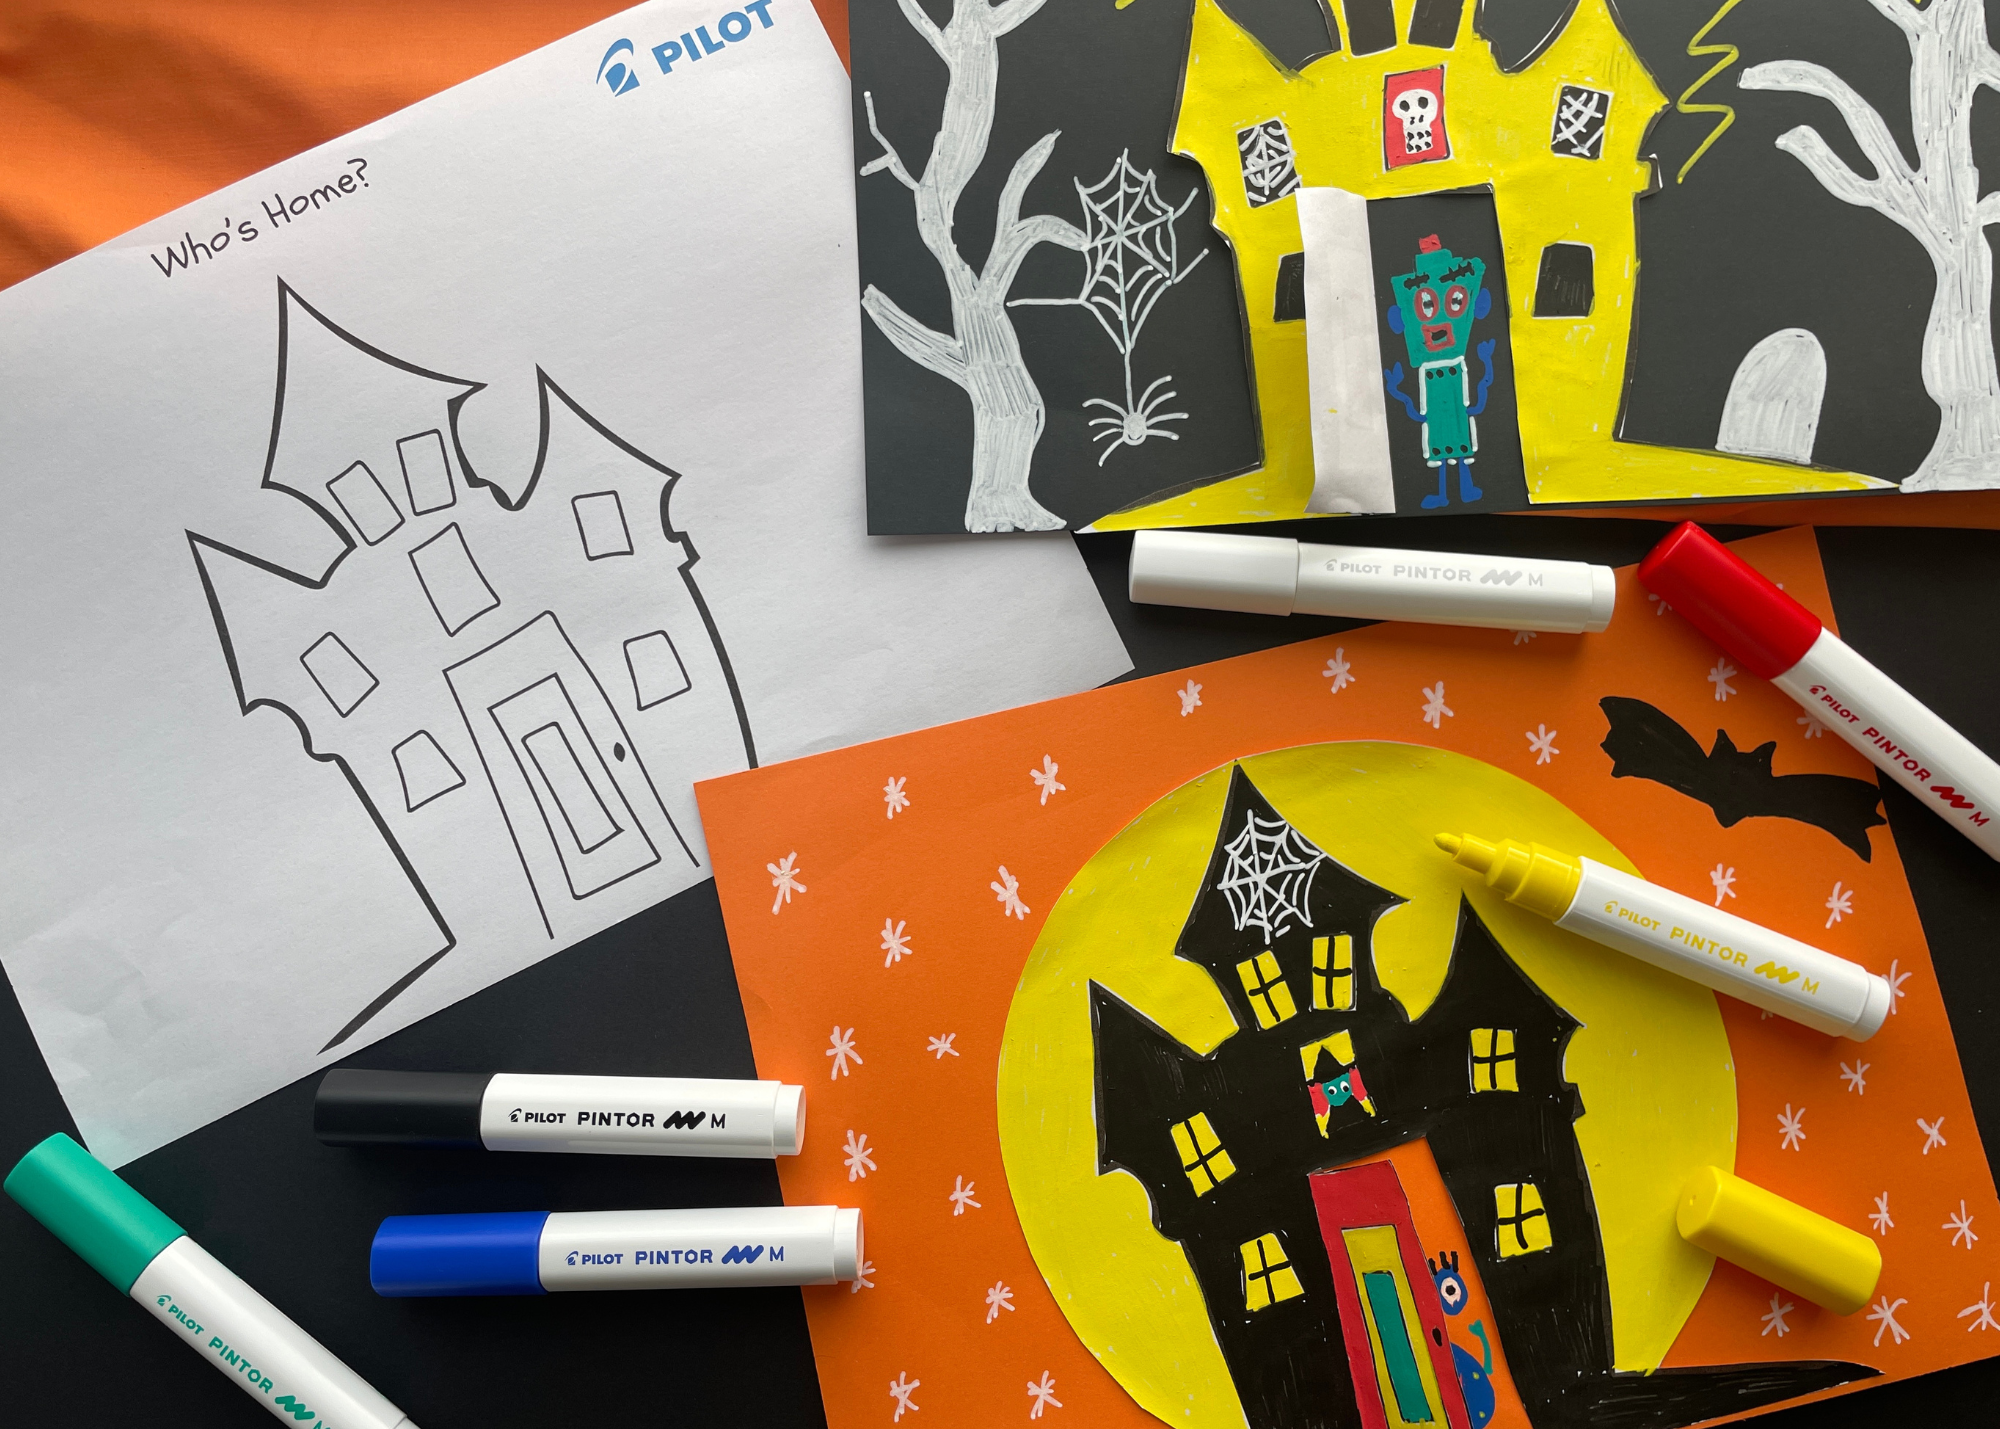
Step 1: Download and Print the 'Who's Home?' Template
The first step in this Halloween adventure is to download and print the 'Who's Home?' template. Just click. the link to get this free template or create your own spooky house design if you're feeling extra creative.
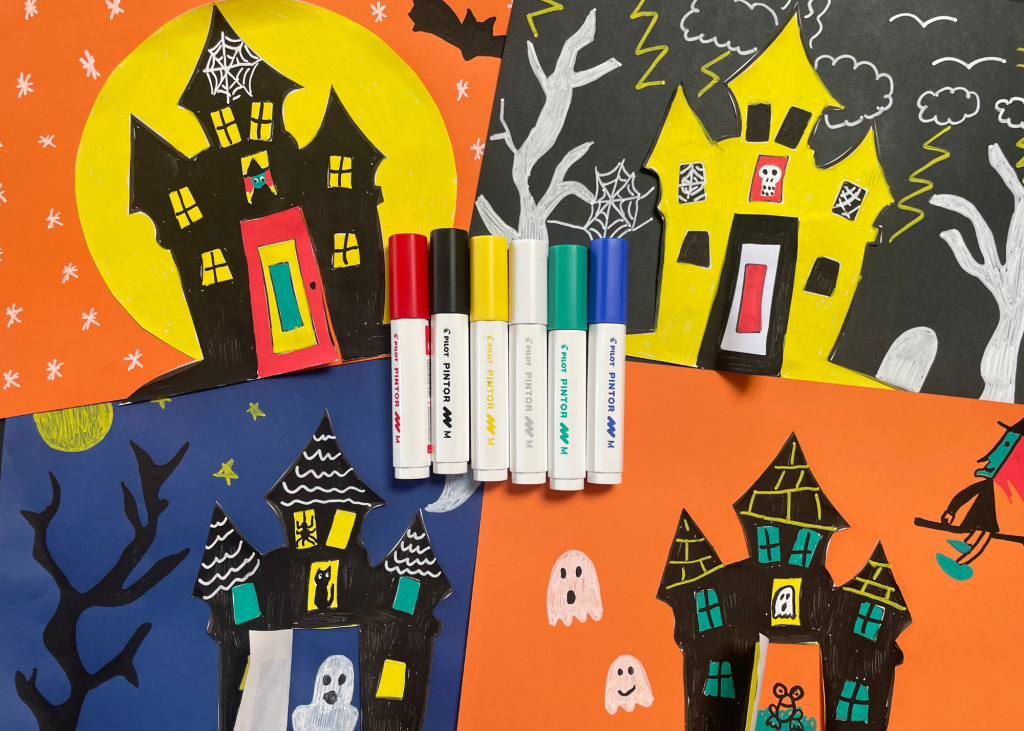
Step 2: Use Pilot Paint Markers to Color the Haunted House
Once you have the template, it's time to bring it to life with colours! Let your child's imagination run wild as they use Pilot Paint Markers to colour the haunted house. Encourage them to choose eerie and vibrant shades to make the house truly spooky. Cobweb-covered walls, glowing windows, and a haunted moonlit sky – the possibilities are endless!
Step 3: Cut Out Your Haunted House
Carefully cut out the haunted house from the printed template. Start by cutting along the right, long side of the front door. Then, move on to the short side, creating an opening for the door.
Step 4: Fold the Door Along the Left, Long Side
Now, it's time to make the door functional. Fold the door along the left, long side so that it can open and close. This will add an interactive element to your haunted house, allowing your child to peek inside and see what's hiding behind the door.
Step 5: Glue the House onto Coloured Card or Paper
To give your haunted house a sturdy base and enhance its appearance, glue it onto a coloured sheet of card or paper. Choose a background colour that complements the spooky theme and makes the house stand out.
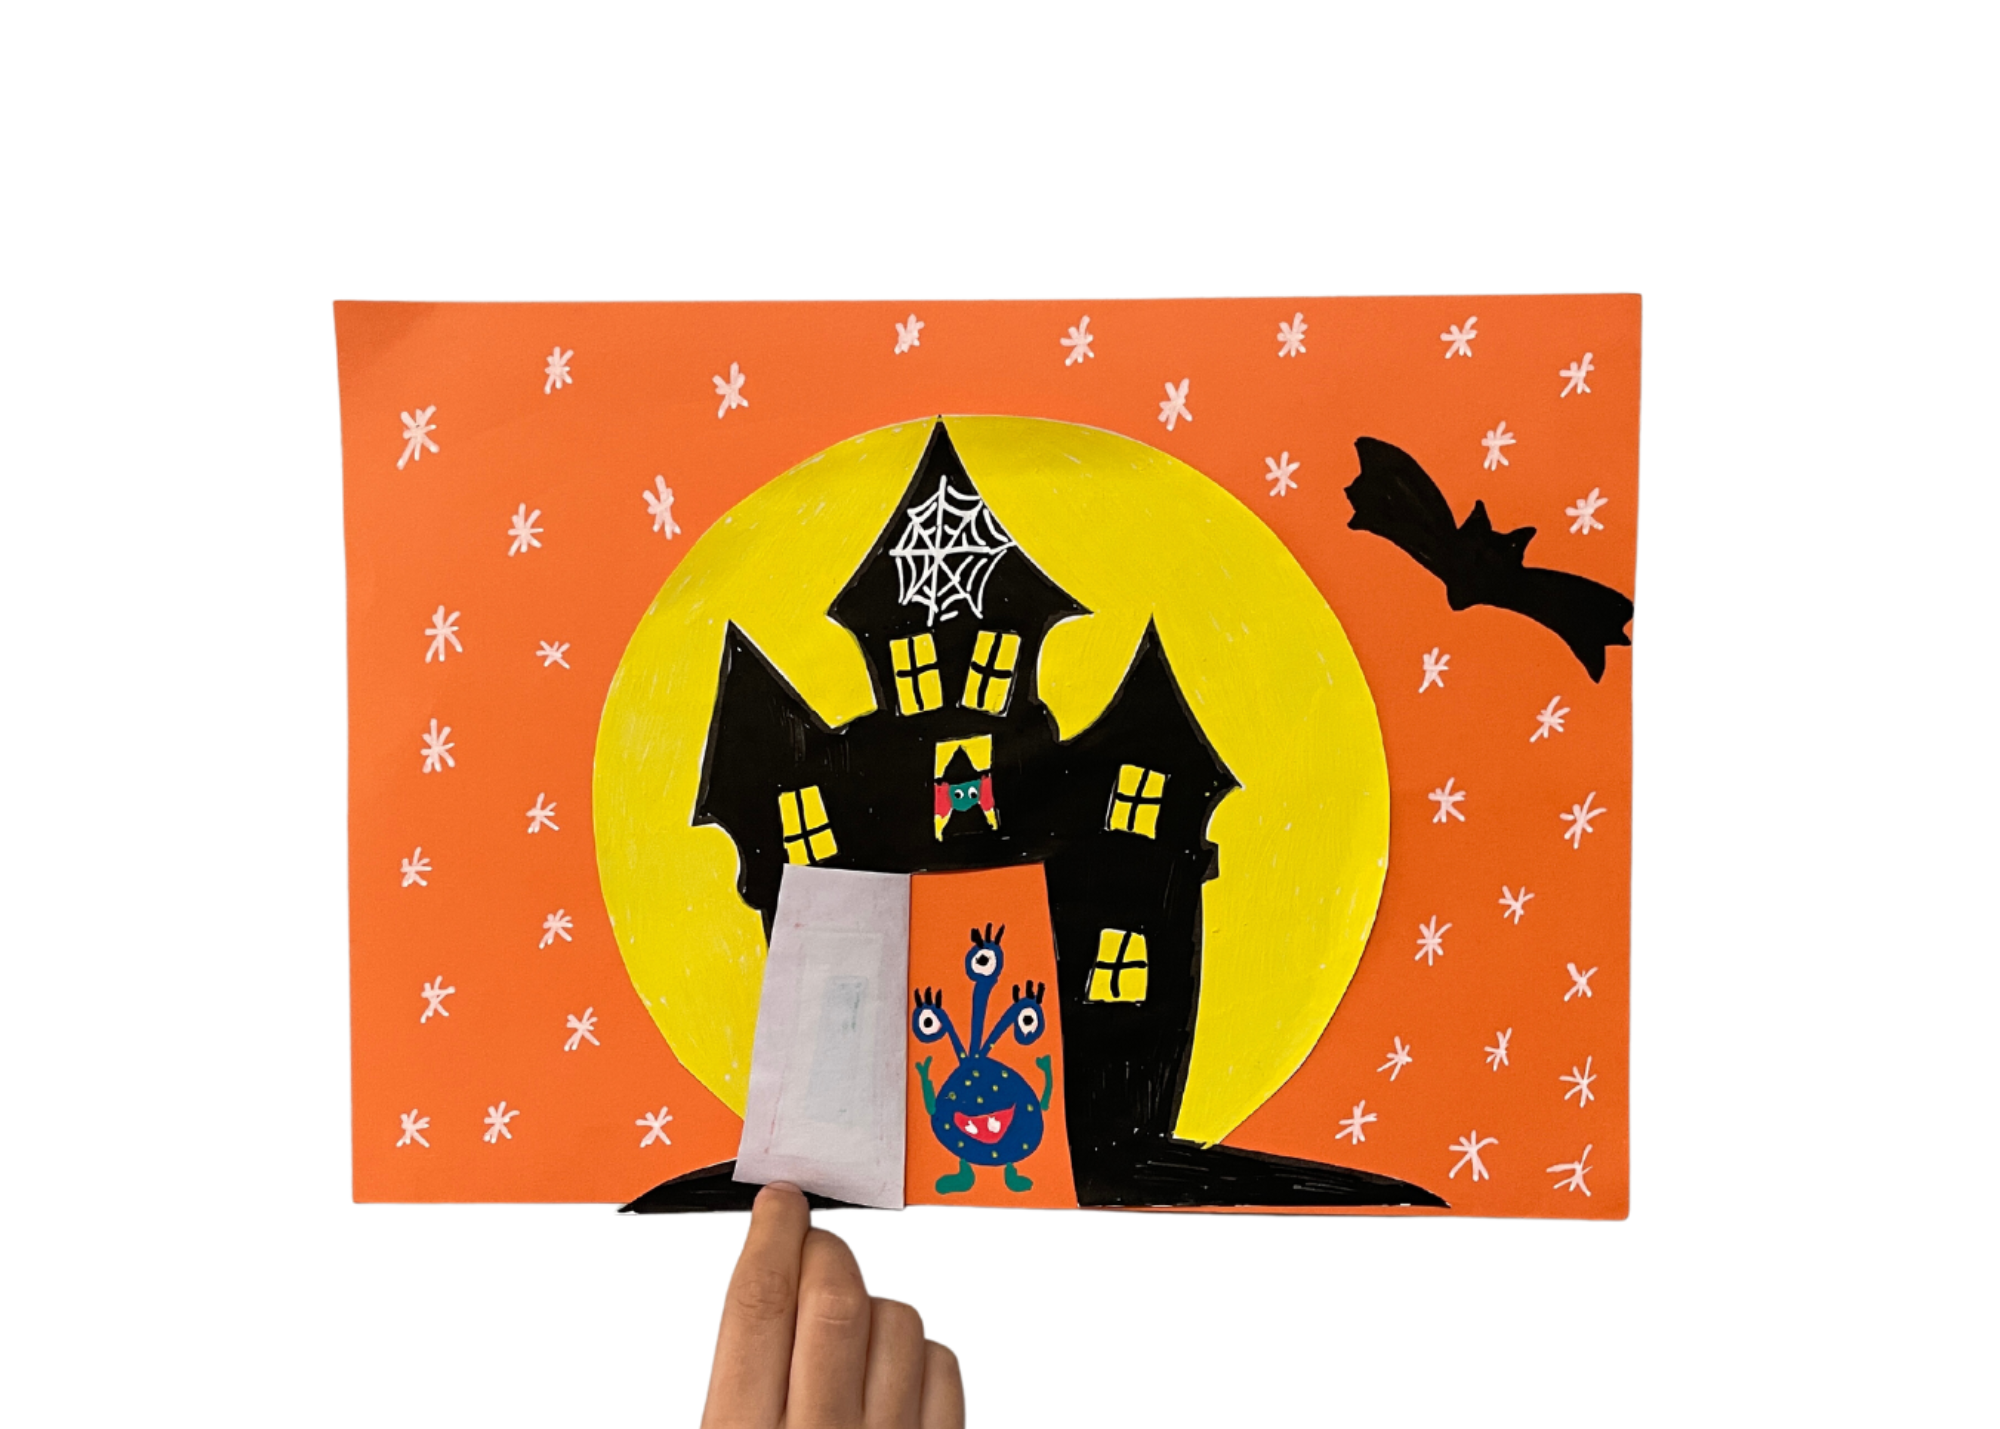
Step 6: Who Is Behind the Door?
Now comes the most exciting part of the activity – using your imagination to draw a creature behind the door. Encourage your child to come up with their own cute or spooky character to hide inside the haunted house. Is it a friendly ghost, a mischievous witch, or something entirely unique? Let their creativity flow as they bring their creature to life with the paint markers.

Bonus Step: Build Your Own Story! Once your haunted house is complete, invite your child to build their own spooky story around it. Who lives in this eerie abode, and what adventures await behind that mysterious door? This storytelling element adds another layer of creativity to the craft and keeps the Halloween spirit alive.
This Halloween, indulge in some creative family time by making a DIY haunted house craft that will stimulate your kids' imaginations and provide a platform for storytelling and endless fun. With just a few simple materials and a dash of creativity, you can create a memorable and spooky decoration that's sure to be a hit with your little ones. Get ready for a hauntingly good time this Halloween season!
To watch how to do this fun and simple project, watch the video below!

About Author
Shannon Wong-Nizic
Shannon Wong-Nizic is a teacher, mum of three and avid crafter. An enthusiastic fan of pom poms, PVA and paint, she runs popular blog and online parenting resource dedicated to all things creative, ohcreativeday.com and has a growing community of 30,000 followers on Instagram.
