
The holiday season is upon us, and what better way to embrace the festive spirit than with a fun and creative activity that both mums and kids can enjoy together? This fun and festive project requires just a few simple materials and promises heaps of joy for everyone involved this holiday!
Materials you will need:
Baubles Template printed on thin cardstock
Cardboard box offcuts
Wooden beads
Twine
Sellotape
Scissors
STEP 1: Get Your Baubles Ready
Download and print the baubles template onto thin cardstock. Feel free to choose a variety of shapes and sizes to add some flair to your Christmas tree. Once printed, use scissors to cut the baubles out. These will serve as your crafting canvas for the festive fun that lies ahead.
STEP 2: Trace and Decorate
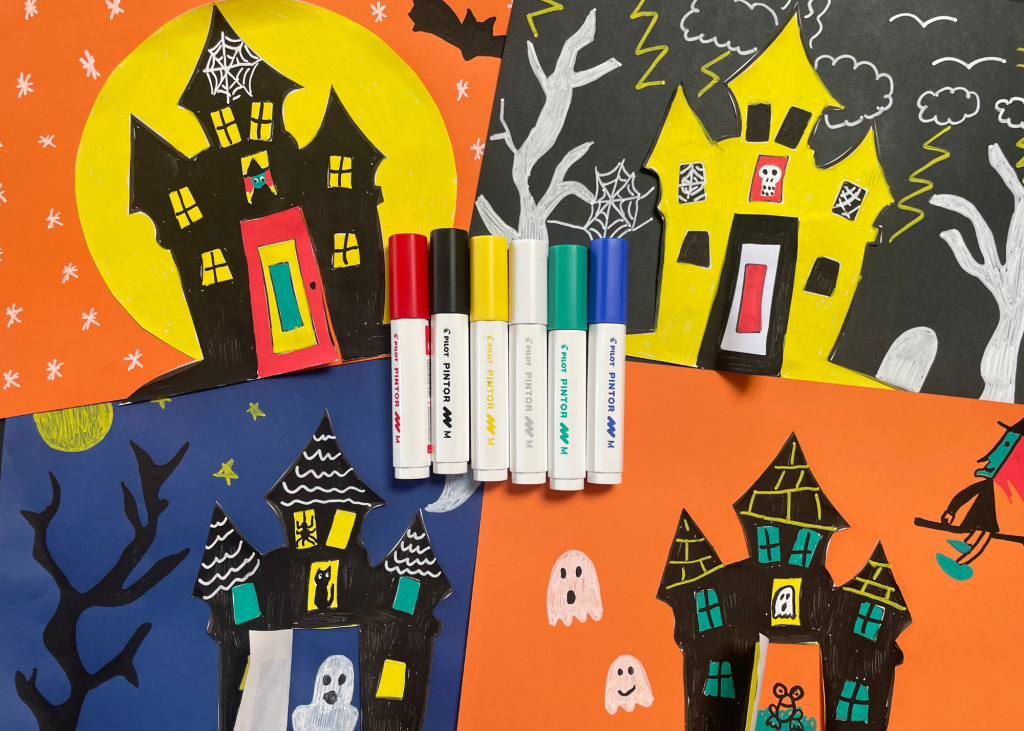
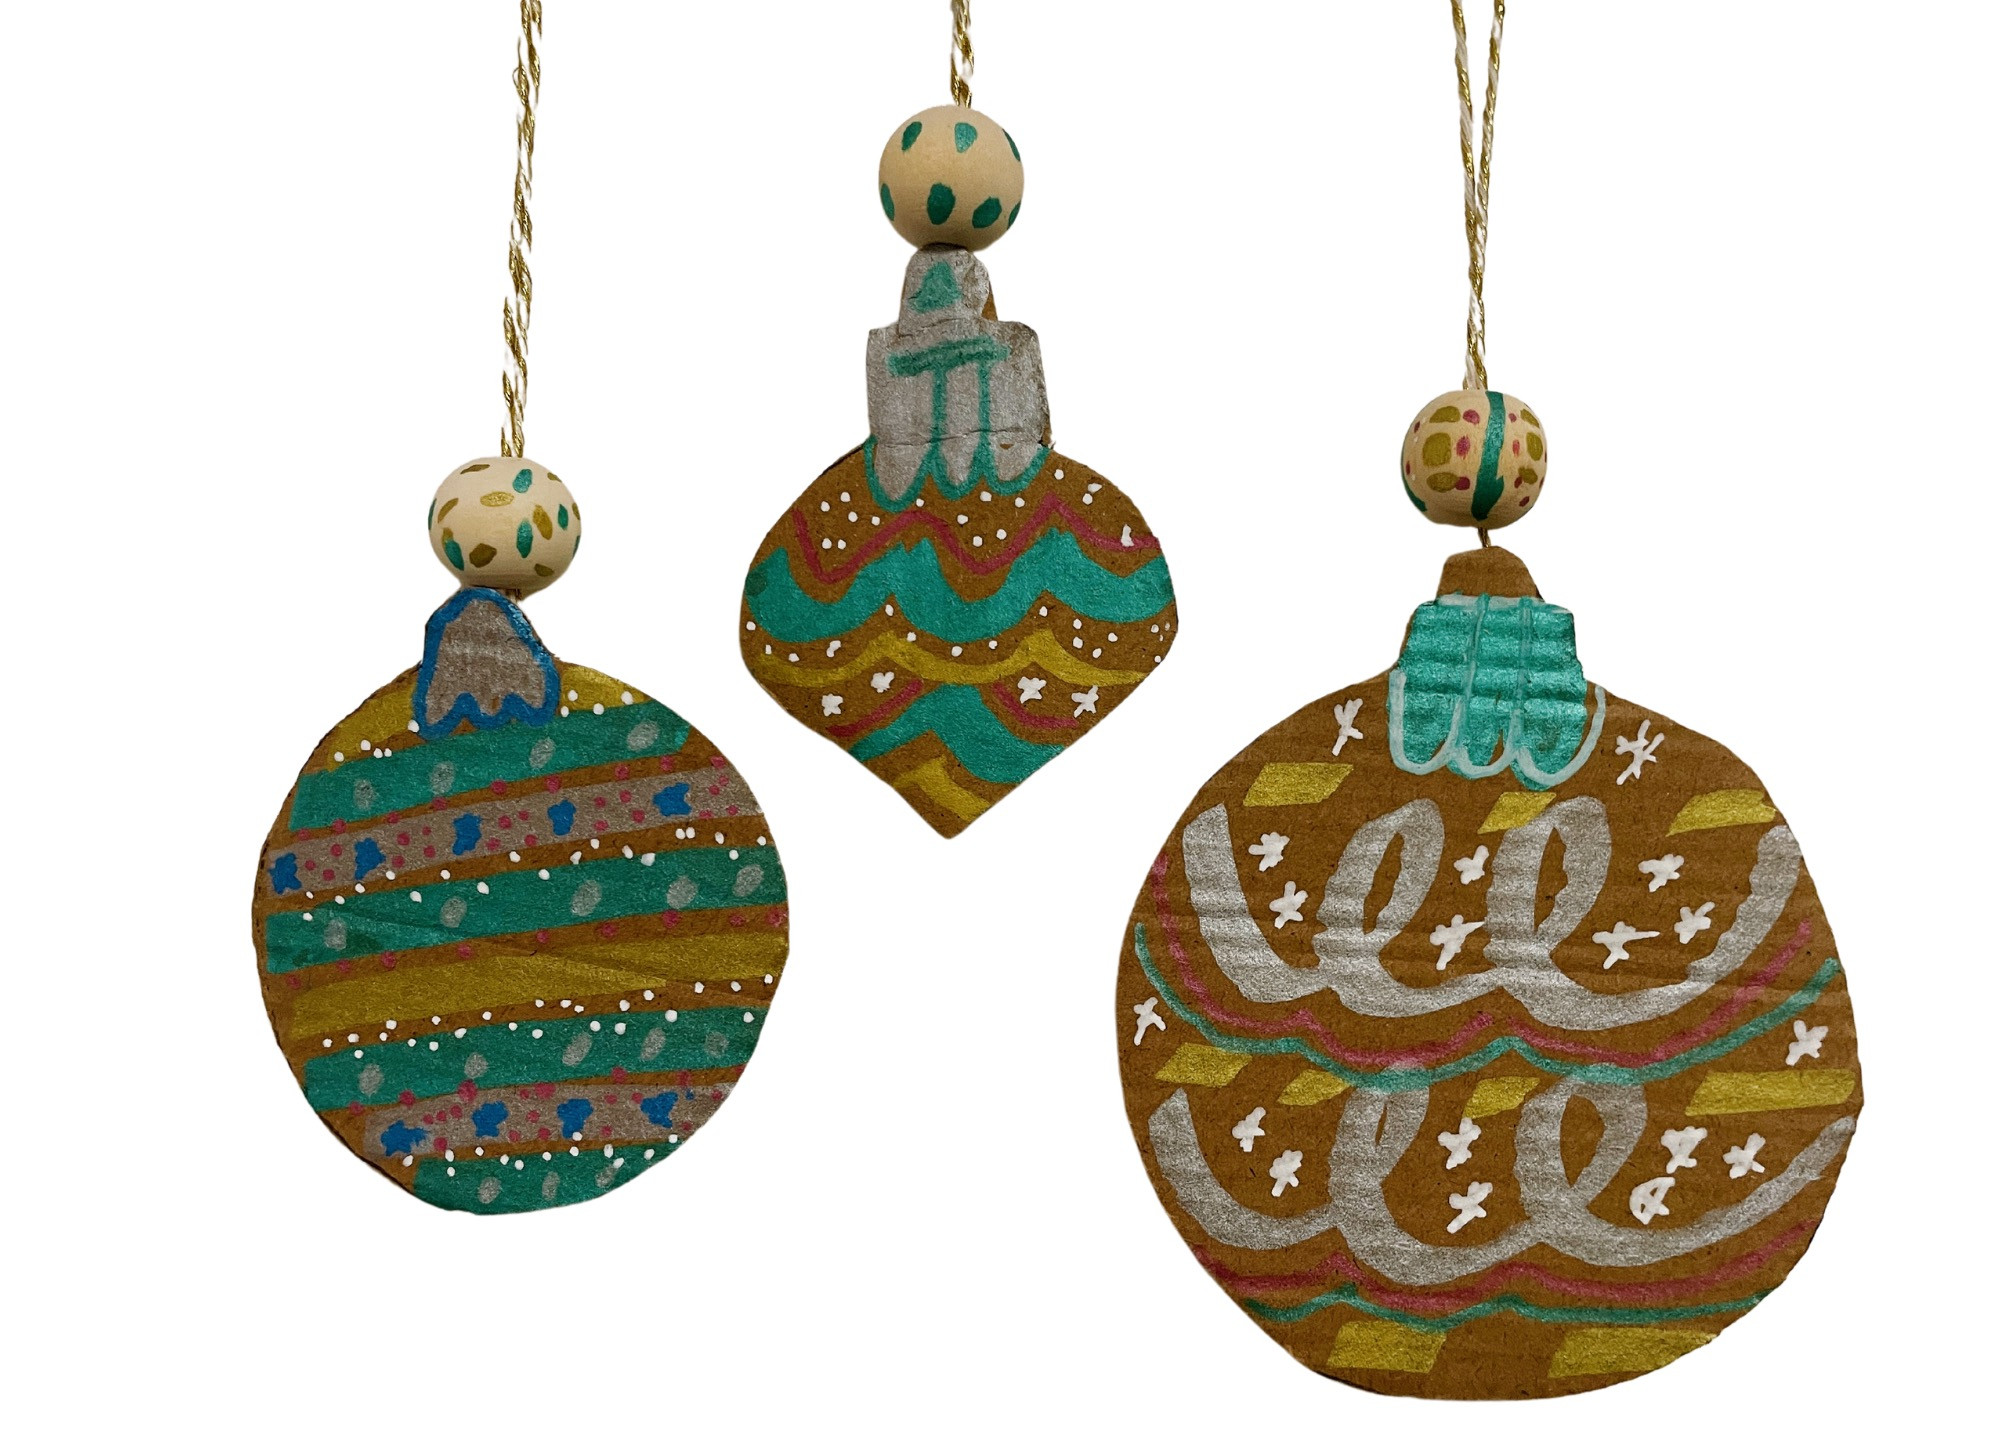
Using the cut-out baubles as templates, trace their shapes onto cardboard offcuts. This step is a fantastic opportunity to unleash your creativity! Break out the vibrant PILOT Pintor Paint Markers and let your imagination run wild as you decorate both the cardboard baubles and wooden beads. Whether you opt for classic holiday colours or decide to go for a more eclectic palette, the choice is yours!
STEP 3: Stringing the Magic
Now comes the magical part – bringing your baubles to life! Take a wooden bead and thread it through a length of twine. Choose twine in colours that complement your festive creations. Once threaded, secure the twine to the back of the cardboard bauble using Sellotape. This step not only adds a charming touch but also makes your DIY baubles ready for hanging on the tree.
OPTIONAL TWIST: Direct Template Decorating
If you're feeling adventurous or want to simplify the process, skip the cardboard step altogether. Print the template directly onto cardstock and let your artistic talents shine by decorating right onto the template. This option is perfect for those who prefer a quicker crafting experience while still enjoying the festive fun.
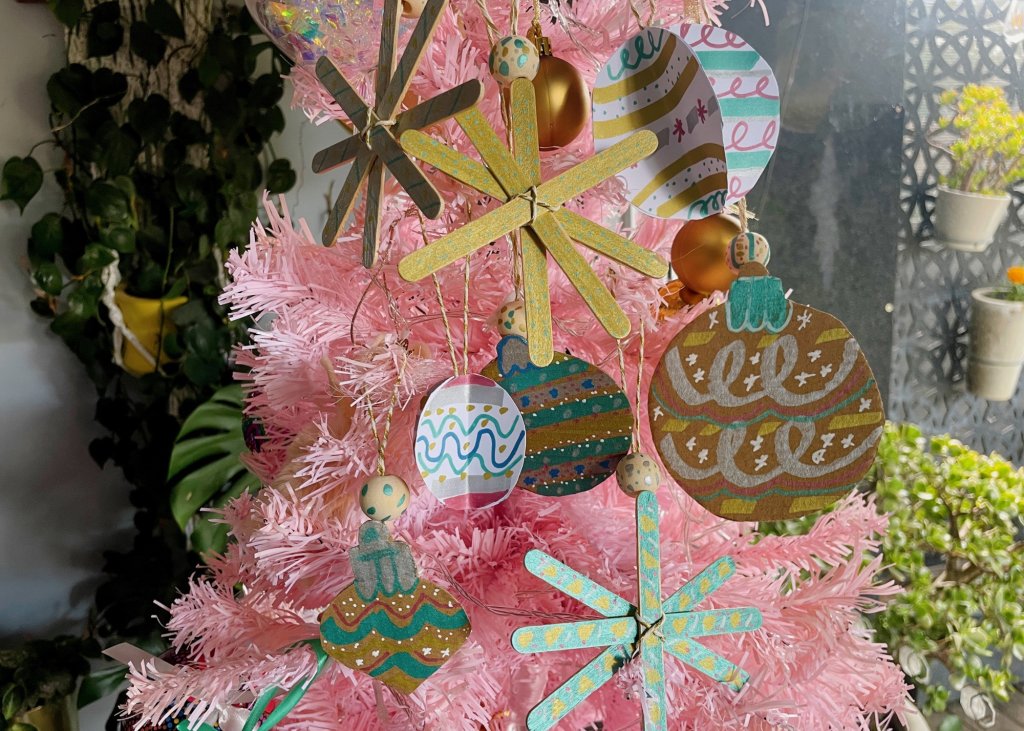
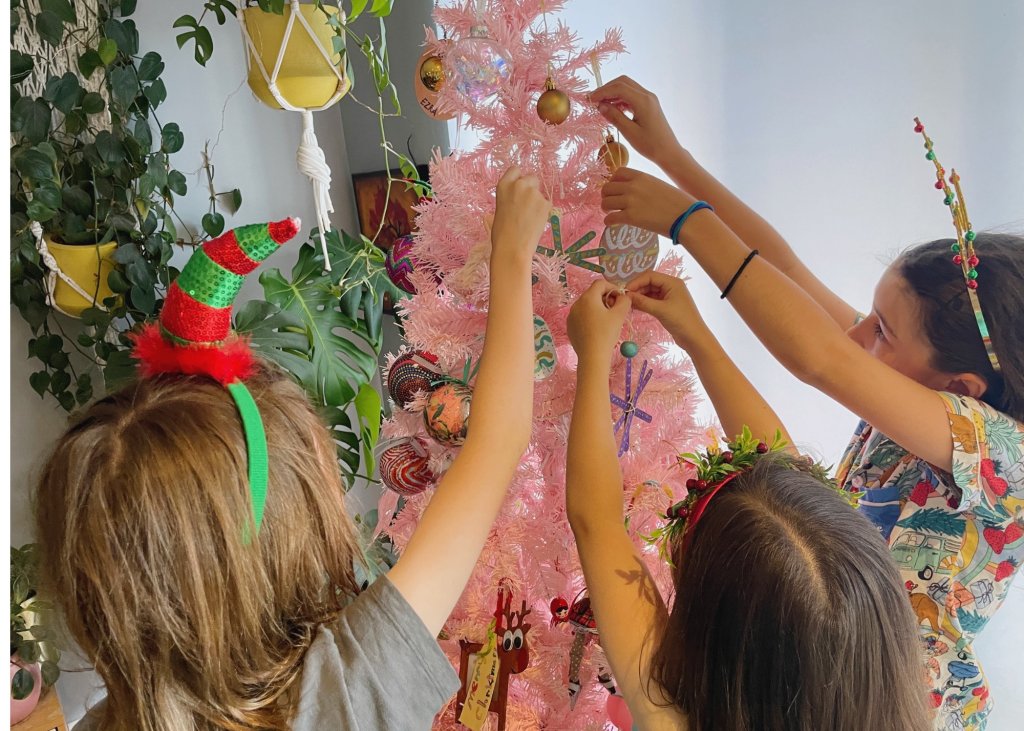
This DIY Christmas bauble project is not just about creating beautiful ornaments; it's about making memories with your friends and family that will last a lifetime. From selecting colours to sharing laughs over imaginative designs, every moment spent together in the creative process is a gift in itself. So, gather your materials, clear a crafting space, and dive into this delightful holiday adventure with your kids. Let the jingle bells of creativity ring loud and clear this festive season!
Learn more about this acitivity by watching this video!
Next in this series
DIY Christmas Bauble Craft: Let it Snow with PILOT Pintor Paint Markers
LET'S CRAFT TOGETHER - Unwrap the magic of the season! Grab your festive craft sticks and PILOT Pintor Paint Markers and let's sprinkle holiday cheer and transform your space into a merry and colourful Christmas wonderland!
LET'S CRAFT SOME MORE!
About Author
Shannon Wong-Nizic
Shannon Wong-Nizic is a teacher, mum of three and avid crafter. An enthusiastic fan of pom poms, PVA and paint, she runs popular blog and online parenting resource dedicated to all things creative, ohcreativeday.com and has a growing community of 30,000 followers on Instagram.